

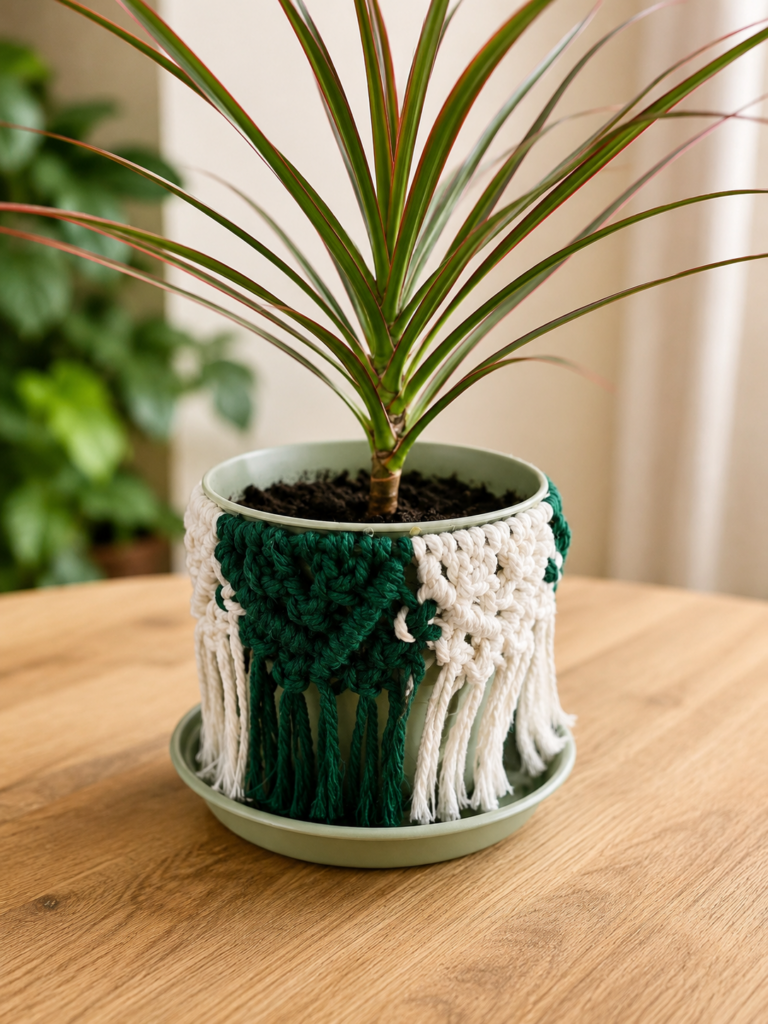
Six chair covers.
When someone simply says it out loud, it does not sound like anything special. But when you have crocheted all six chair covers yourself, you know very well that at some point your fingers look you straight in the eye and announce quite firmly:
“We are not crocheting another single stitch today.”
Fair enough. If the fingers still want to do something, let them. Just something different.
I have a whole army of houseplants at home that I have “rescued from death” at Maxima. The poor things come home with me almost every time their price label turns yellow. Most of them recover nicely. But the plant pots… well, they are exactly what shop-bought plant pots usually are. One grey, another greenish, a third brown. Not one of them suits my taste.
So I dug out my leftover macramé cord.
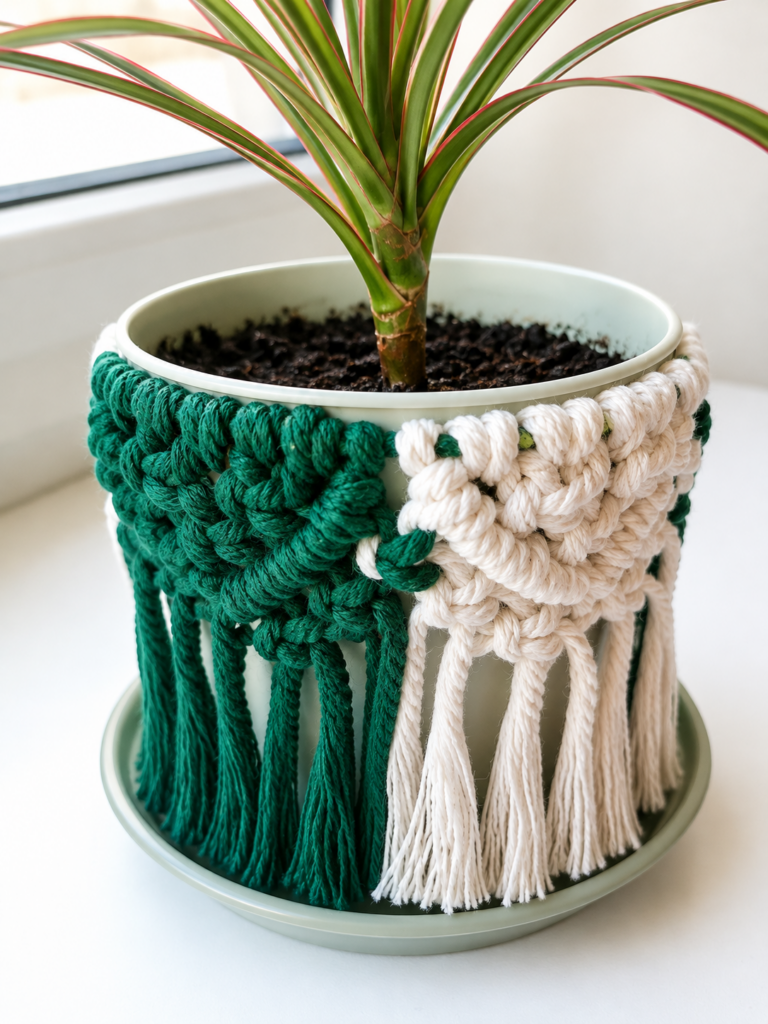
There was just enough green cord to fall slightly short of covering one pot. At first I thought that was a pity. Then I added some white. Looking back, it was actually a stroke of luck. The two-colour version turned out far more interesting than plain green would have been.
How I made the cover
First I measured the circumference around the top edge of the pot. Mine was 33 cm.
Using that measurement, I cut the cord to which I would attach all the other cords. I added about 20 cmto leave enough extra for tying the knot. So this cord was 53 cmlong.
Next I measured all the remaining cords. I took the distance from the top edge of the pot to the bottom, doubled it and added another 20 cm of extra length. Mine actually ended up a little too long.
But experience comes into play here. I already learnt this lesson with the rug. It is better for a cord to be slightly too long than a couple of centimetres too short. No amount of persuasion will stretch a short cord any longer.
One triangle takes six cords.
I made one triangle first and measured it. It was about 5.5 cmwide. Since the circumference of the pot was 33 cm, that meant exactly six triangleswould fit around the pot.
I cut another 35 cords, because instead of one cord I used the ends left over from the knot. Altogether the project used 36 cords.
I attached all the cords to the cord cut for the circumference using a reverse lark’s head knot and divided them into groups of six, meaning 12 cord ends in each group.
Attachment knot (lark’s head knot)
First I attached all the green cords. Then I added the white cords between them as I went, so that in the end there were alternating 3 green and 3 white triangles.
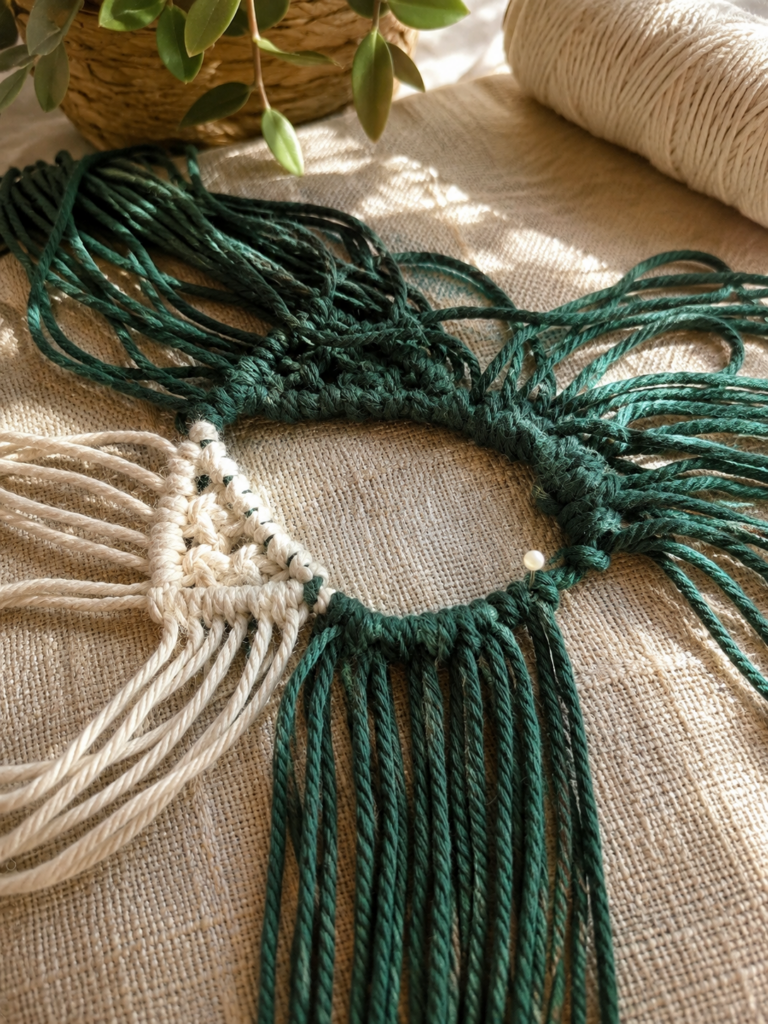
Knotting the first triangle
First I located the top attachment knot.
- I took its two cords.
- I added one cord from each side.
- I made a square knot (KMS).
- I took the next four cords on the right and made a second KMS.
- Using the middle four cords of those two knots, I made a third KMS underneath them.
Then I took the two left-hand cords of the first KMS, crossed the left one over the right and made a double half hitch knot (PS) diagonally towards the centre of the lower KMS.
I repeated exactly the same thing on the right. This time I used the two cords from the right side of the KMS, leaving the outer one as the holding cord around which I tied the double half hitch knots.
And the first triangle was finished.
The rest of the way around
I repeated the same process with the next group of six cords, or twelve cord ends.
This time I skipped the first two cords and used the next ones to make two KMS knots side by side again, a third one underneath them, and double half hitch knots along the sides.
When all six triangles were finished, I joined them together.
I took four cords from the centre between two neighbouring triangles and made a KMSwith them. On each side I added another two KMS knots. This created a triangle of KMS knots in the centre: one at the top in the middle and two running diagonally down on each side. I repeated this all the way around the pot.
Finishing touches
My plant pot had quite a slippery surface and the cover kept sliding down. So I fixed it to the top edge of the pot in a few places with tiny dots of hot glue.
Finally, I trimmed the fringe to the level of the bottom edge of the pot, gently combed it out and evened up the length once more.
And there is one thing worth remembering here.
If all the fringe looks the same length before combing, do not trust your eyes. After a light combing it becomes clear very quickly that the optimism was premature. A little tidying up is almost always needed.