WAISTCOAT NUMBER ONE
Poor as I am, I cannot afford to buy presents. But the children’s birthdays were coming up, so I decided to get my fingers moving and knit something. But what? For Christmas I made socks for all three of them, hats and neck warmers for the grandchildren, so what now? If I remember one day, I will write a little about those hats here too and add whatever photos I have. It is nice even for me to see now and then what I have made for the grandchildren, because otherwise I never see those things. Anyway…
I opened my all-knowing friend Google and hoped to find instructions and a chart. First I went straight to theEstonian national costumeswebsite. I did not find instructions there, though, so I kept looking. I found a lovely picture and a chart as well.
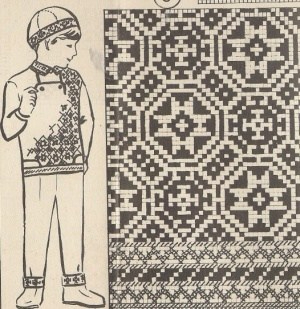
As I had already looked at a Muhu waistcoat on the national costume website, it seemed to me that this still was not quite the real thing. The boy’s waistcoat has the same pattern as the man’s waistcoat. But I could not find the truly correct one anywhere. Or perhaps I simply did not know how to search, and it never occurred to me to ask on a forum.
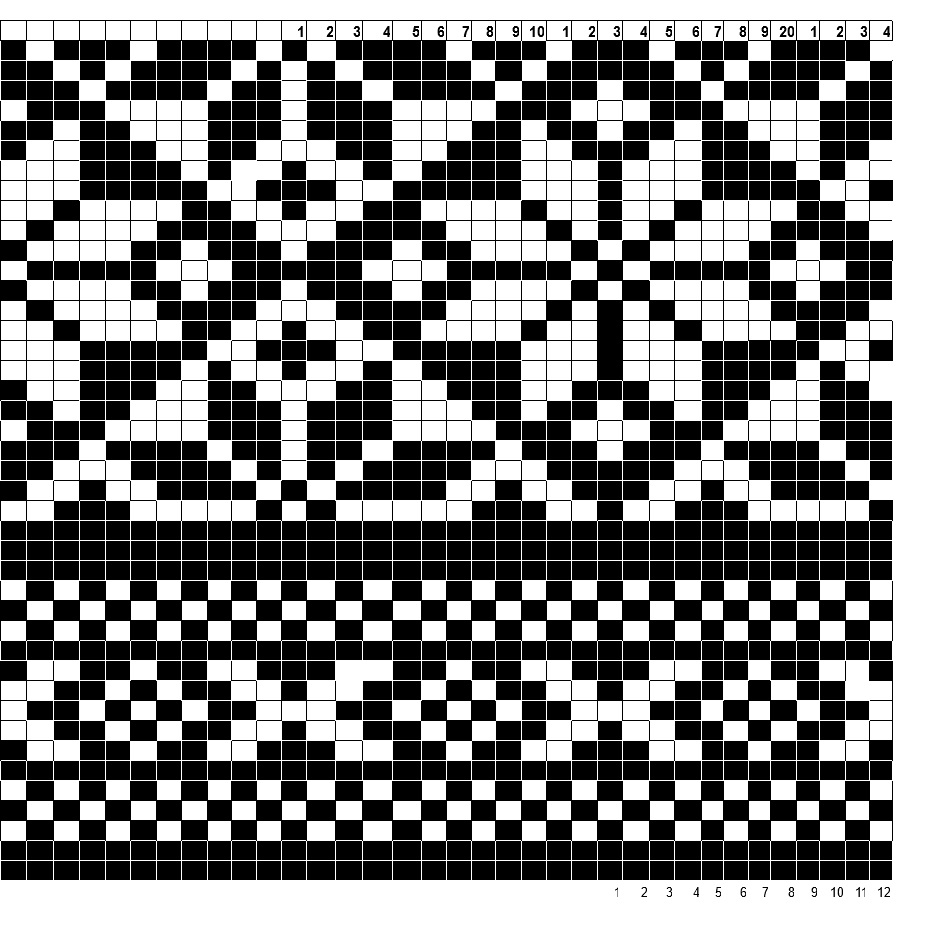
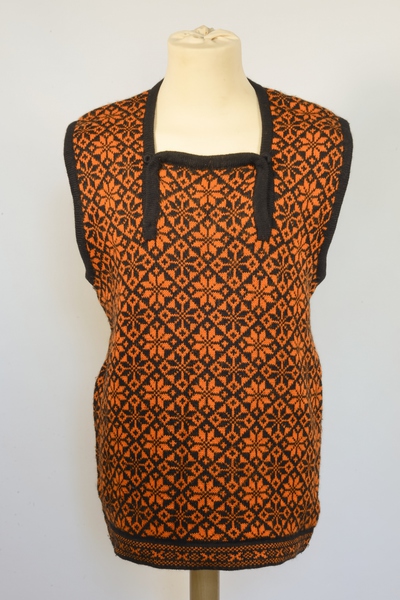
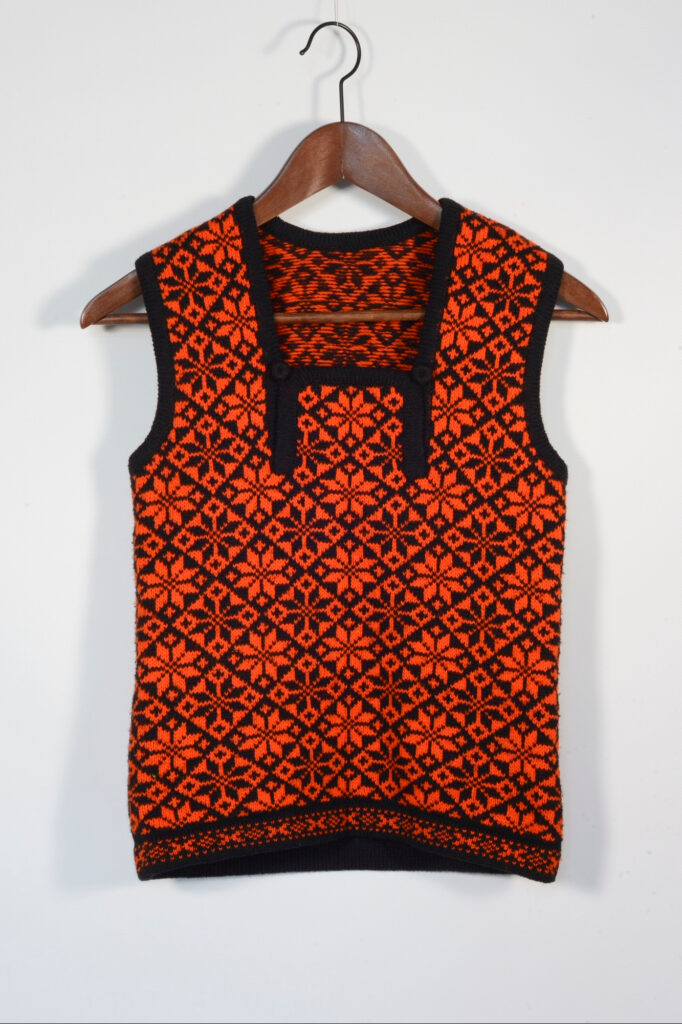
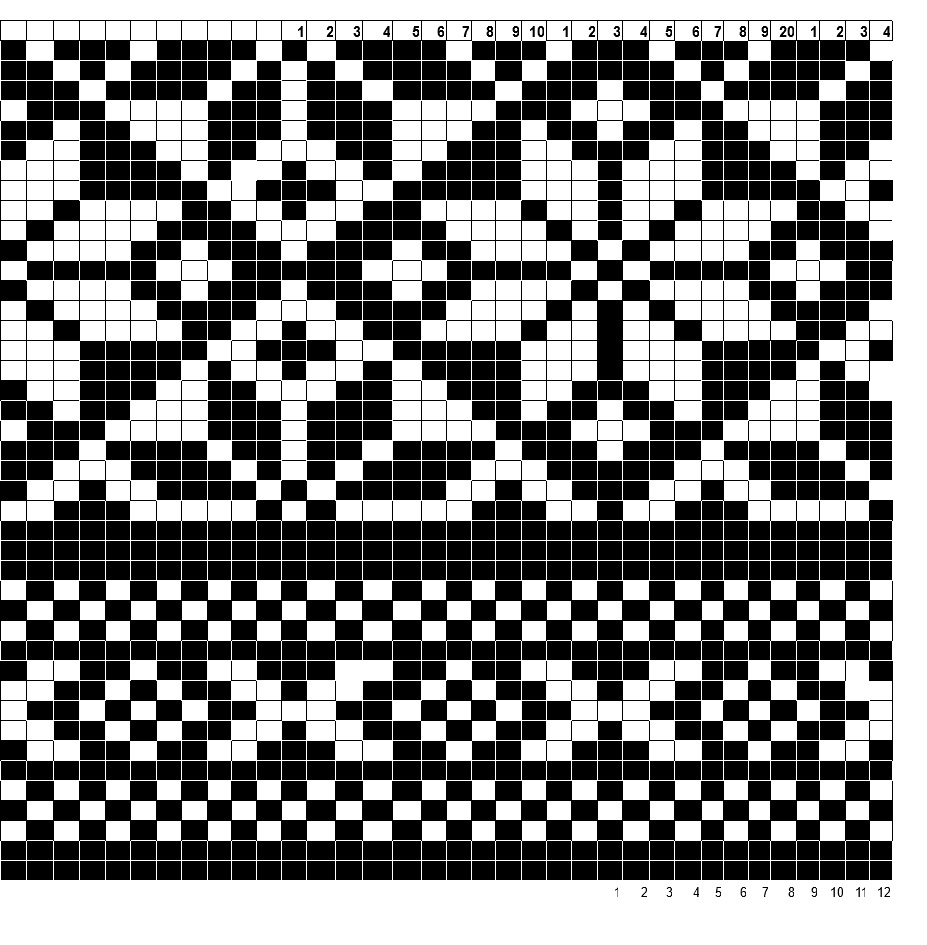
I saved the picture to my computer and started making the chart myself. It took time, but I got there. This is the chartI ended up with.
I wanted to use Estonian wool yarn and went looking for it at Karnaluks. I found some, though not quite what I wanted. In my opinion the yarn is too thin; they told me they had never stocked anything thicker. Nothing to be done, at least it is Estonian wool. The colours are not quite right either, but I never claimed I was making an authentic Muhu man’s waistcoat. I said it was Muhu-inspired.
One repeat of the border pattern is 12 stitches and the main pattern is 24 stitches. I made the front and back the same size. My mother taught me that the front should be slightly wider than the back, and the front armhole should also be larger than the back one. This time I broke those basic rules and made them the same. I also got the pattern wrong. The correct version has the middle flower light on a dark background; mine is dark on a light background. I suspect the only way to make it come out correctly would have been simply to make it wider. I used 120 stitches for each piece. With 144 it would have worked out properly.
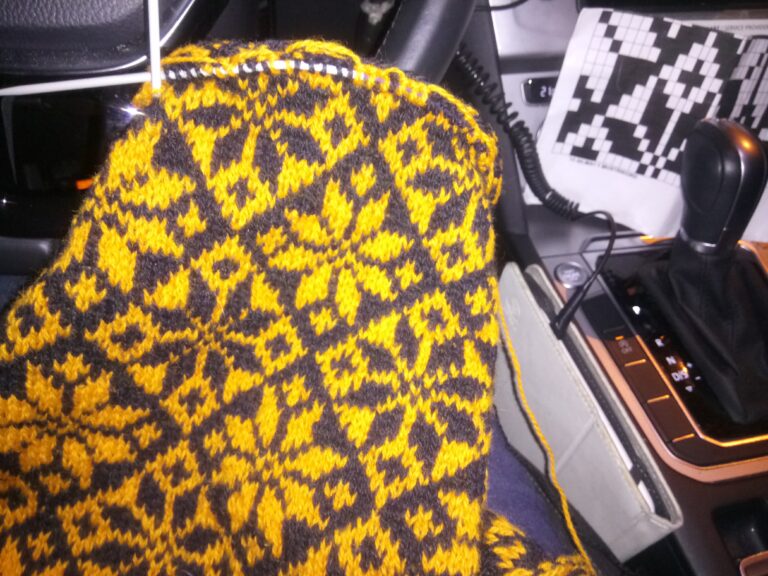
I was in a hurry with the knitting too, and in fact I could only knit while I was at work. Why? Because I spend most of my day at work and mostly go home to sleep. But there is some sitting around at work too, and why waste that time playing on the tablet when I can use it for something useful?
Everything I need lives in the car: tape measure, scissors, crochet hook and circular needles in various sizes, as well as L. Kivilo’s book “Kampsunid”.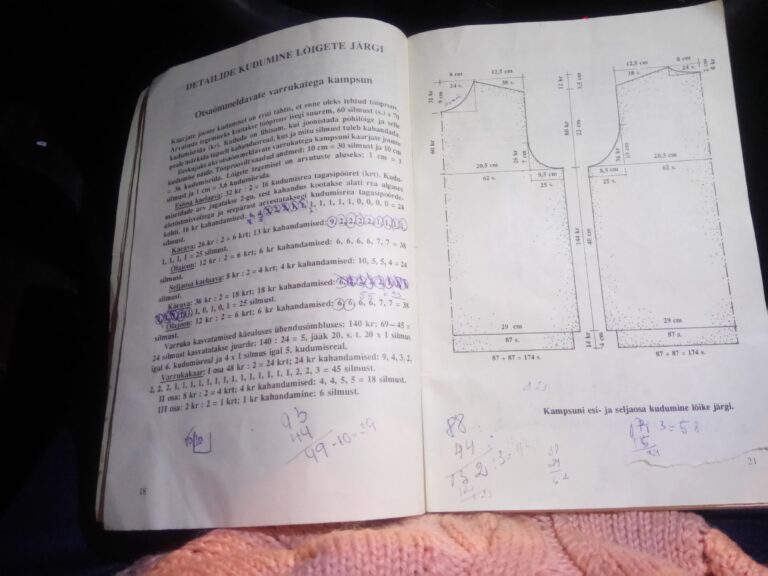
I more or less followed that pattern, especially the centimetres for the armholes, but you can see with the naked eye that it came out too small.
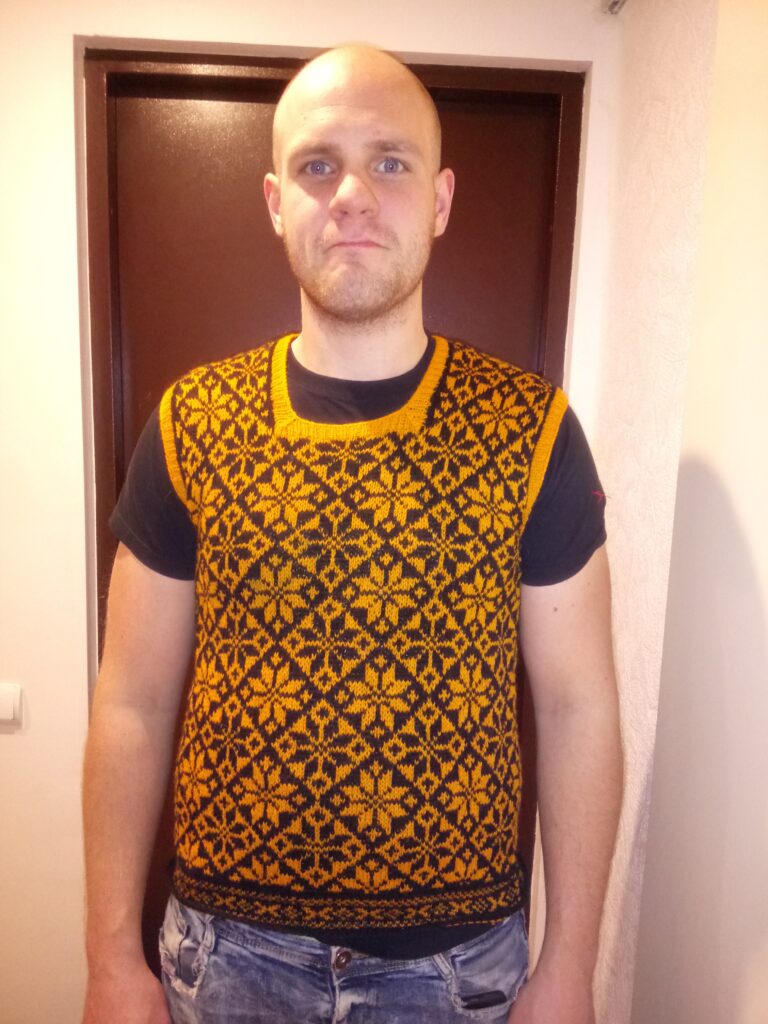
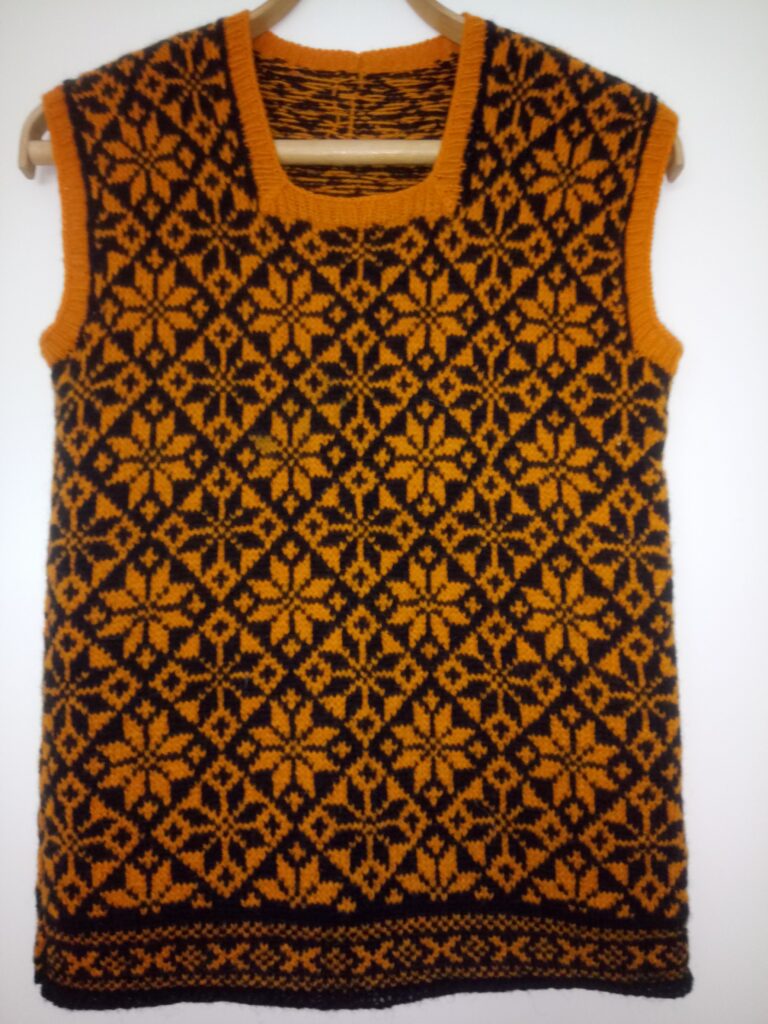
After trying it on I immediately realised there was nothing for it. If I had even the tiniest hope that my son might actually wear something I made, I had to unravel it…. 🙁 No, I did not unravel the whole waistcoat, only back to the armholes. I made the armholes bigger and the neckline bigger too. Then I had the idea of making the little flap neckline that a proper Muhu waistcoat has. I made the flap, but could not manage the knitted edging. I always knit edgings directly onto the garment; if I knit them separately there are only two possible outcomes, too big or too small. But I simply could not get the edging onto the flap, got thoroughly annoyed, unravelled the flap and this time made double black edgings instead. Another bit of cheating: I attached the armhole edgings to the right side and the neckline edging to the wrong side. It has not been tried on yet, so I have no idea whether it fits. Making the armholes larger also added some length. If it is still too short, I will knit ribbing onto the bottom. Nothing else to be done.
I like knitting, but I absolutely hate weaving in yarn ends. It is torture, but it has to be done. Sometimes I use a darning needle, sometimes a crochet hook.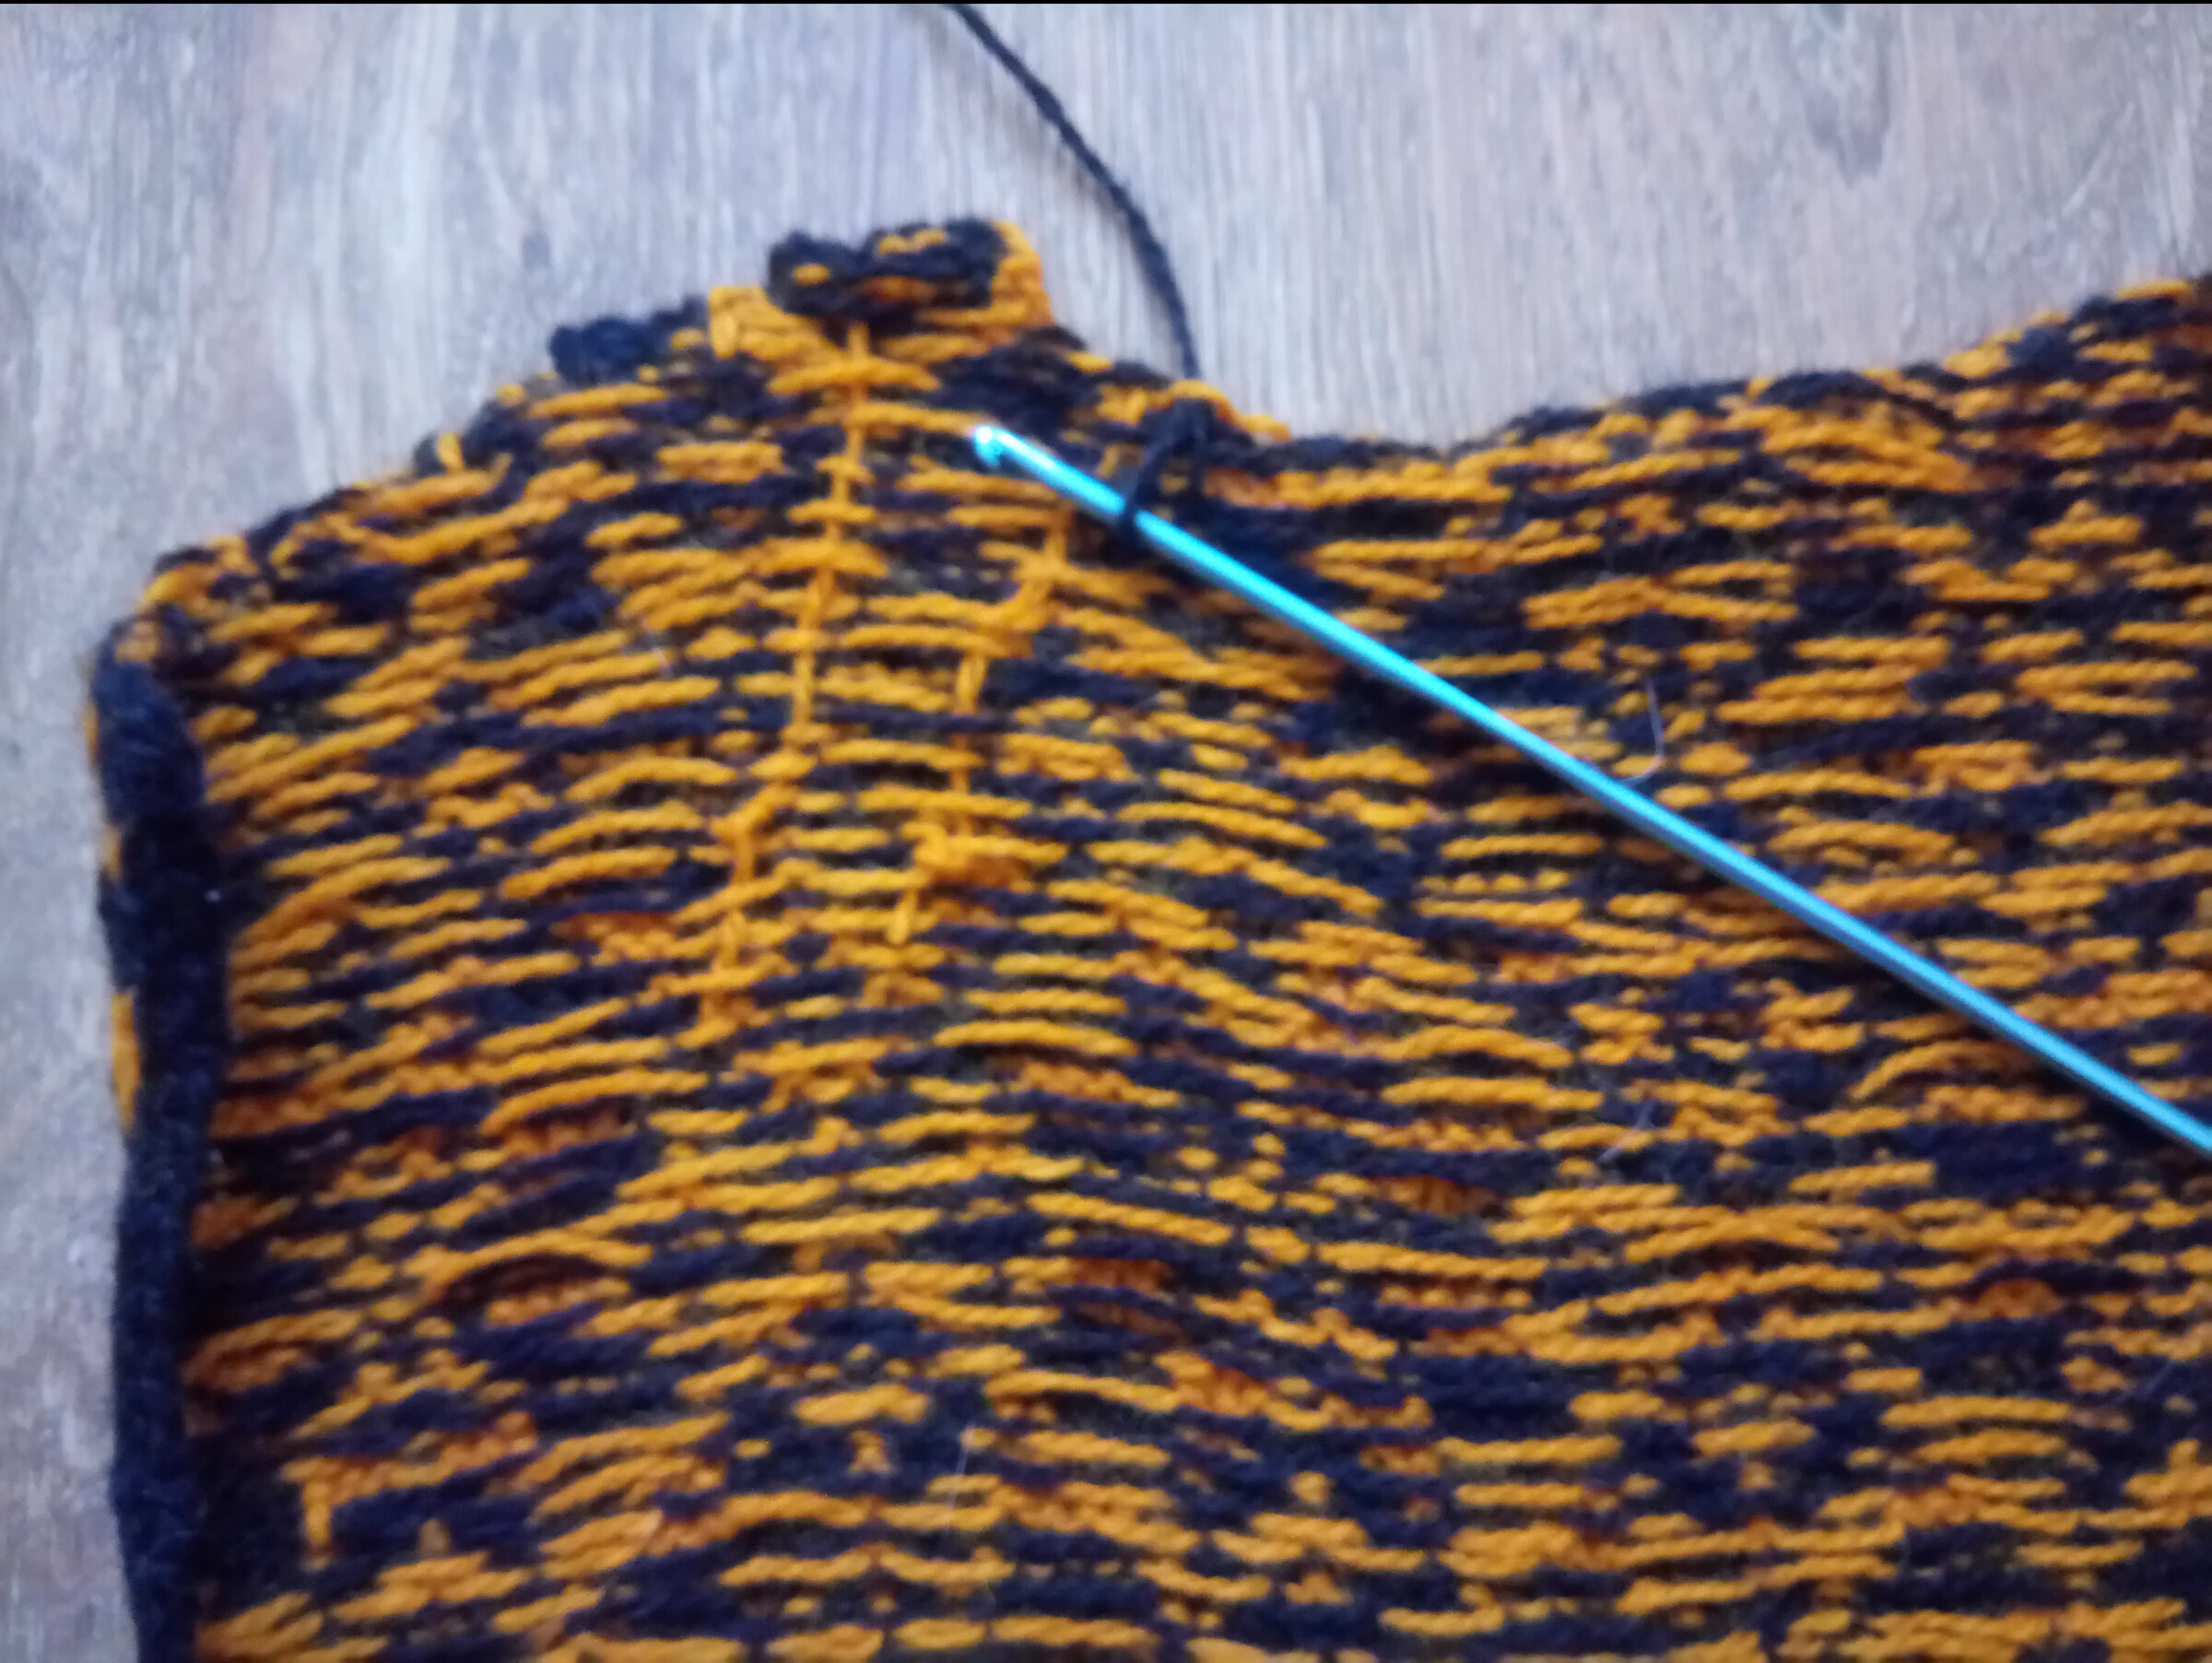
And this is the final result.

WAISTCOAT NUMBER TWO
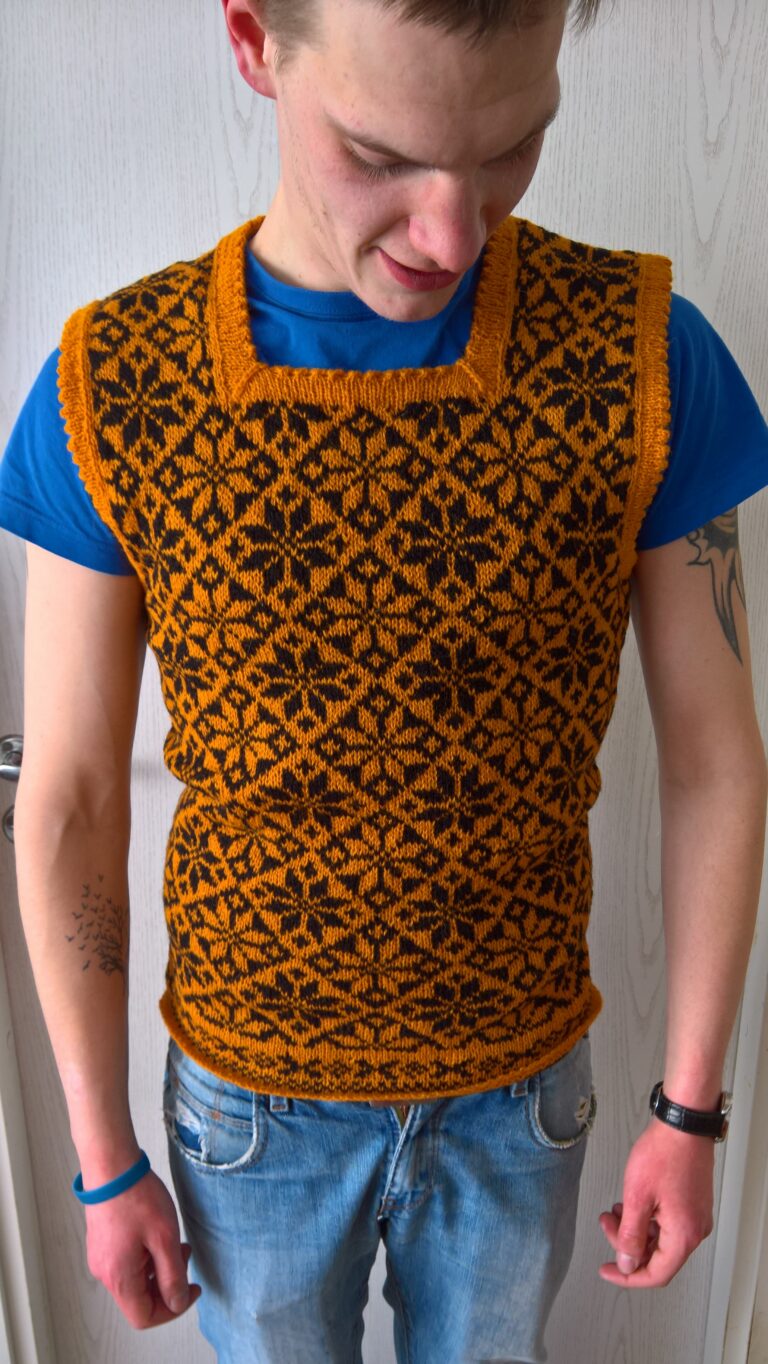
Then I had the idea of making similar waistcoats for all three of my sons. The next birthday was coming up on 22 February. A sudden urgent sock project got in the way, so I did not start knitting until 12 February. Ten days! I decided my fingers would simply have to move quickly at every spare moment. Admittedly, I thought, skinny boy, smaller waistcoat, I will manage. I did not knit at home, only at work. Though how much am I actually at home anyway…. But then work happened to be busy too, with very little sitting around, so I could not devote nearly as much time to knitting as I had hoped. In the end it had to come home with me.
There were even times when I simply could not knit another stitch, I felt sick of knitting. Then I packed it away, put it in the bag under the seat and left it there to wait….
I did not want them completely identical either, so where waistcoat number one had a black base, I made number two yellow. Well, not really the base, more the lower edge and edgings, because the rest is all pattern and there is no real background colour and pattern colour.
This time I knitted the waistcoat according to my mother’s rules: the back smaller, the front larger. I also increased five stitches on both sides every ten rows. Narrower at the bottom and wider at the top. The downside is that the pattern does not line up at the sides. So it does not. It bothers me, though, and not just a little.
I also made the front armholes deeper than the back ones. Good thing I did, because despite all the measuring the waistcoat still ended up a little narrow.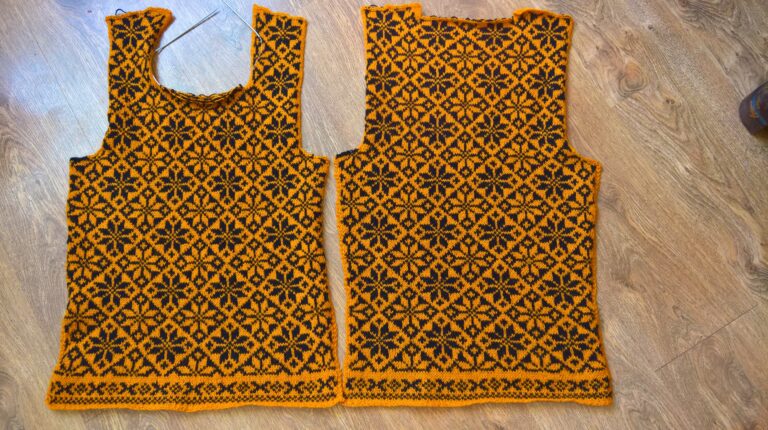
I made the edgings in stocking stitch as well, with a picot fold line: knit two together and immediately make one stitch.
0/\0/\0/\0/\
0 – yarn over
/ \ – knit 2 together
For the neckline edging I picked up stitches according to the instructions: pick up three, skip the fourth, so three stitches for every four. I should not have done it, but I thought stocking stitch would not pull in much, so why not. The needles were a size smaller too, but still. It is not disastrous, I would simply have preferred the neck opening a little larger.
I sewed it down stitch by stitch on the wrong side. It would certainly have been easier to cast off and simply sew it down, but I do things differently. Grafting it down probably took as long as knitting the edging. Mind you, doing it across your knee in the car is not exactly ideal either.
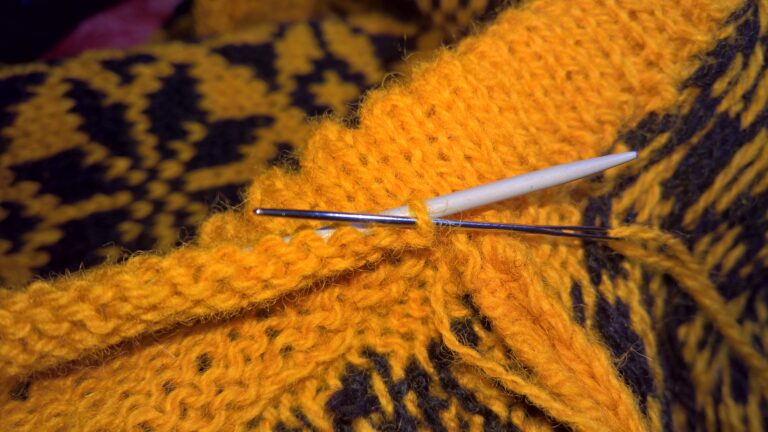
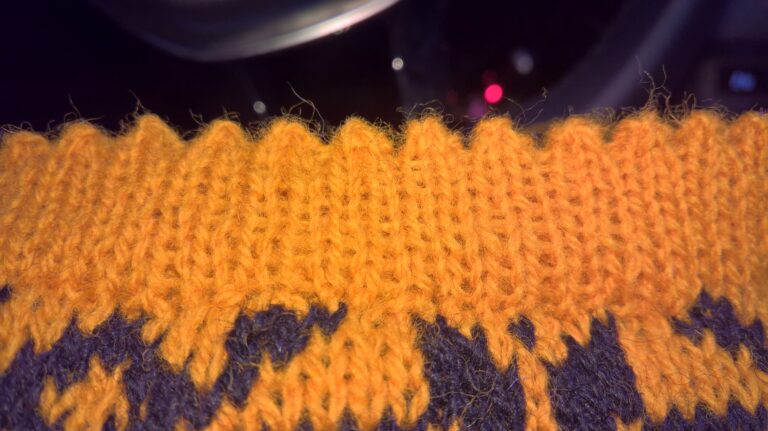
I finished the waistcoat one day after the birthday. AND I CAN SEE A FLAW! DAMN IT, SERIOUSLY.. IT MAKES ME SWEAR. Where? Right there on the lower edge, an entire pattern repeat is missing…..
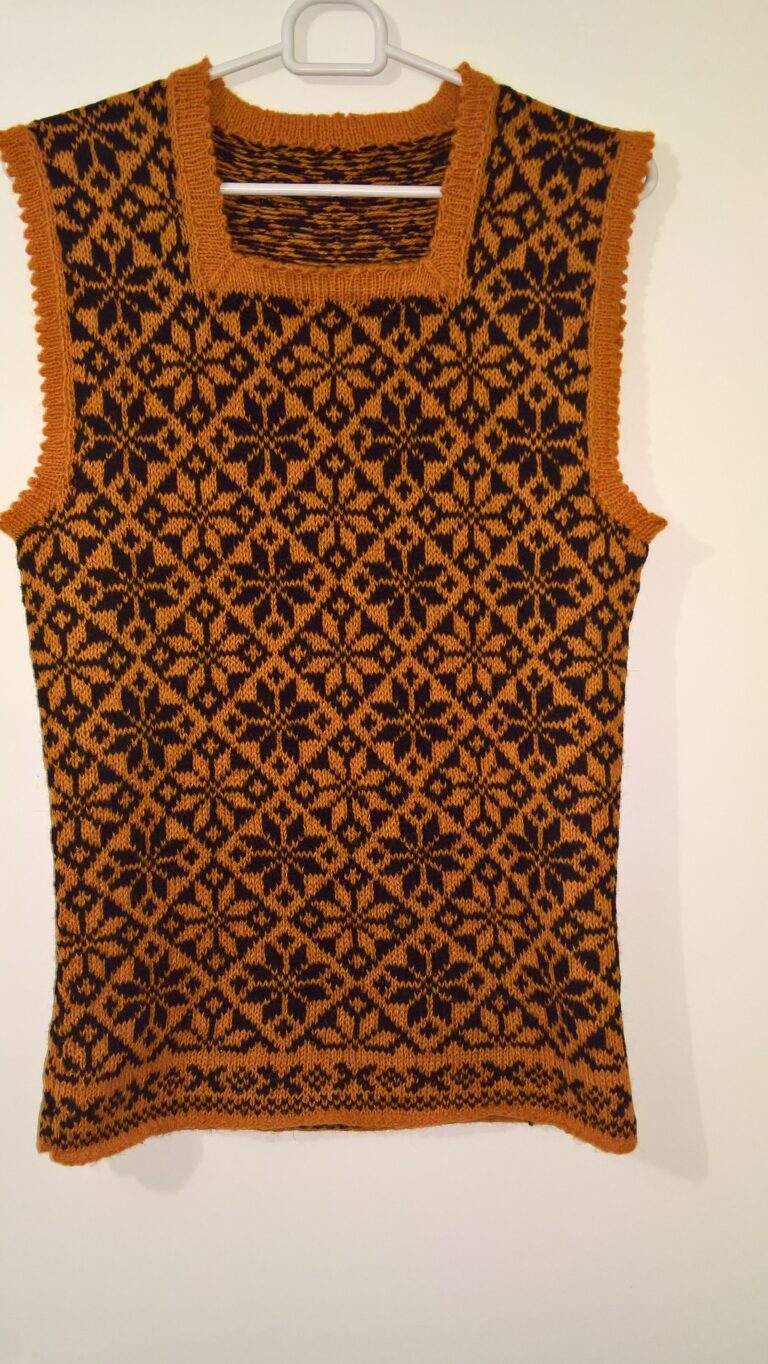
And this is how it looks on.
The next birthday is 2 March. Today is 24 February and I have not started yet, or even decided what the third one should look like. I do know it has to be much bigger….
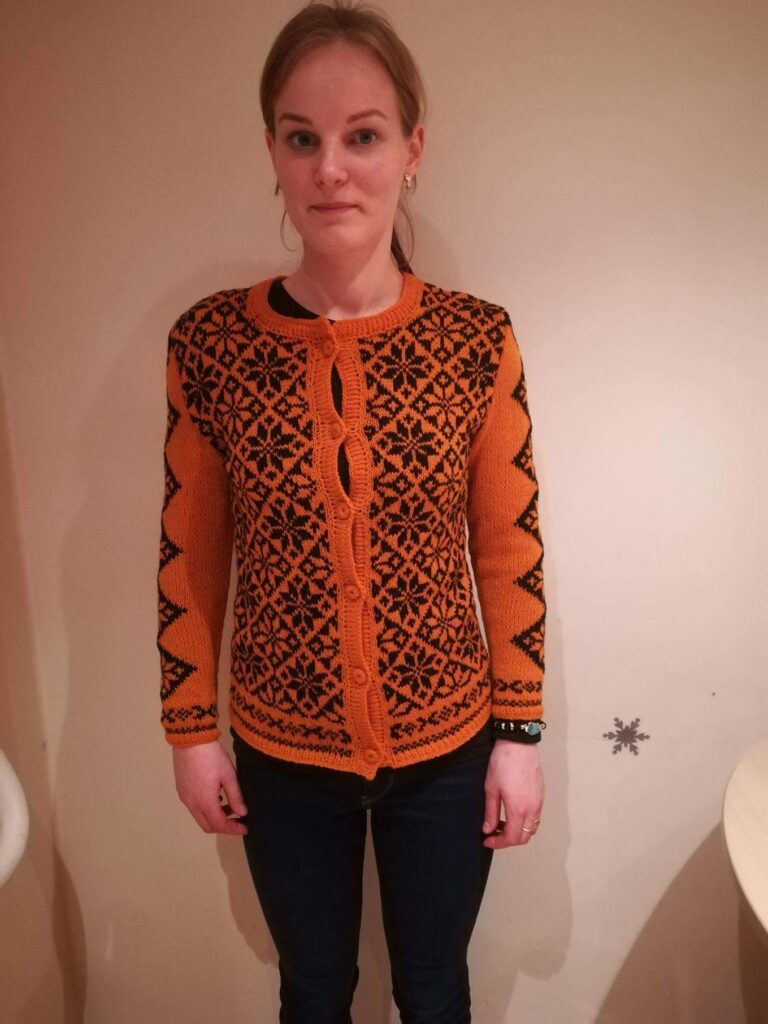
And more and more and more knitting. Sometimes I was so sick of it I just threw the needles and half-finished work into the bag under the seat, picked up the tablet and started rolling eggs around in a game. Then there were times when I had no waiting around at all, only driving, and I was already fretting because I could not knit and would never finish in time. And in fact I did not finish a single one of them on time. The last one, admittedly not a waistcoat but a cardigan, though a small cardigan, took me 20 days!!!! Towards the end there was quite a bit of unravelling too. I made it for my daughter-in-law and had no idea how big or small it should be. Somewhere in my head I remembered that she wears XS, so I googled XS measurements and worked from those. When I got to the sleeves I asked my son to measure one of her cardigans. He sent me photos with a tape measure laid across it, and that told me I had got it more or less right.
The button obsession is still alive: if I knit something myself, the buttons have to be made by me too. This morning I finished the neckline edging and then started making buttons. I discovered that perhaps one should make the buttons first and the buttonholes afterwards. But that was not even the main problem. The yarn kept snapping and I was close to giving up, so I went to Karnaluks to buy buttons. I could not find any I liked. I bought something, but could not bring myself to sew them on. So I started fiddling with homemade ones again. I marked myself busy, stood there making buttons, sewed them on, and finally it was finished. I spread it across the bonnet of the car and took a photo.
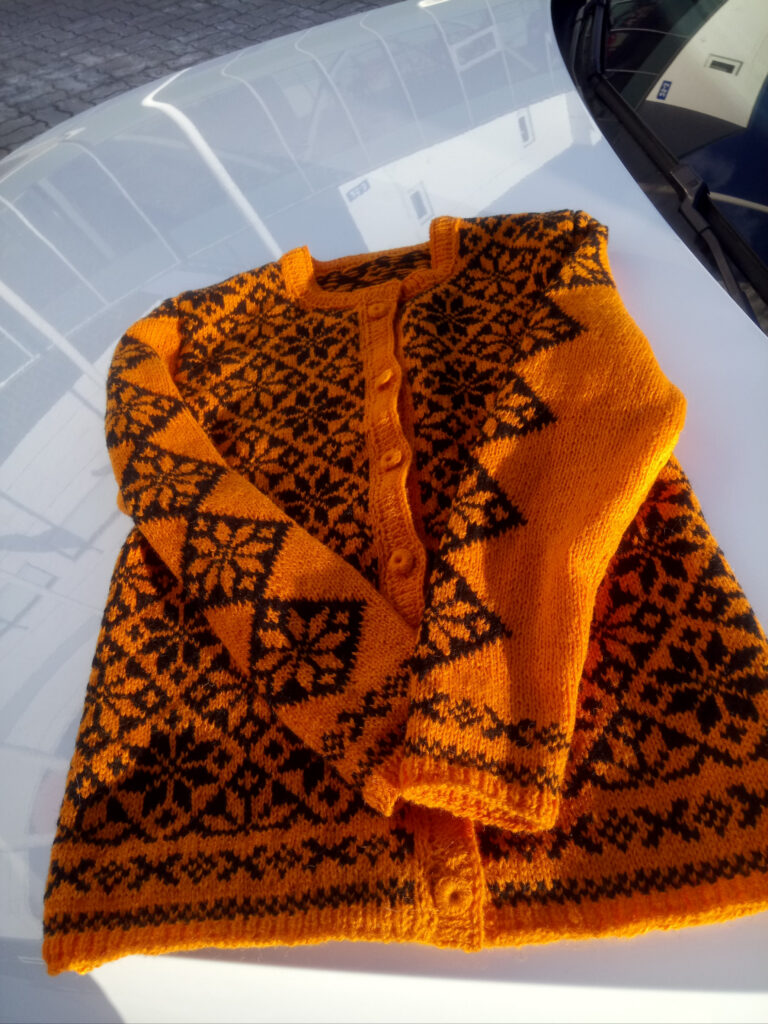
Then I started work and became thoroughly depressed that the day was nearly over and I had hardly done any actual work. But this is work too, and not a small amount of it. After my last fare I went to the shop, bought a gift bag and a flower and went to the birthday celebration, which had actually been on Monday. Today is Thursday…. And when my daughter-in-law put the cardigan on, I really liked it, very much indeed, and it seemed to me that she liked it too. So I am declaring both the project and the day a success 🙂 It pulls a little at the front, but you can see in the photo that she had not pulled it properly into place.
But that is not all. There is still one waistcoat left to make…. and a much bigger one 🙂
The three garments used 800 grams of double-stranded Estonian wool yarn. I bought five 100 g balls each of black and yellow, so one kilo altogether, for €20. The material therefore cost a little under €20. What the labour should cost… I honestly have no idea.