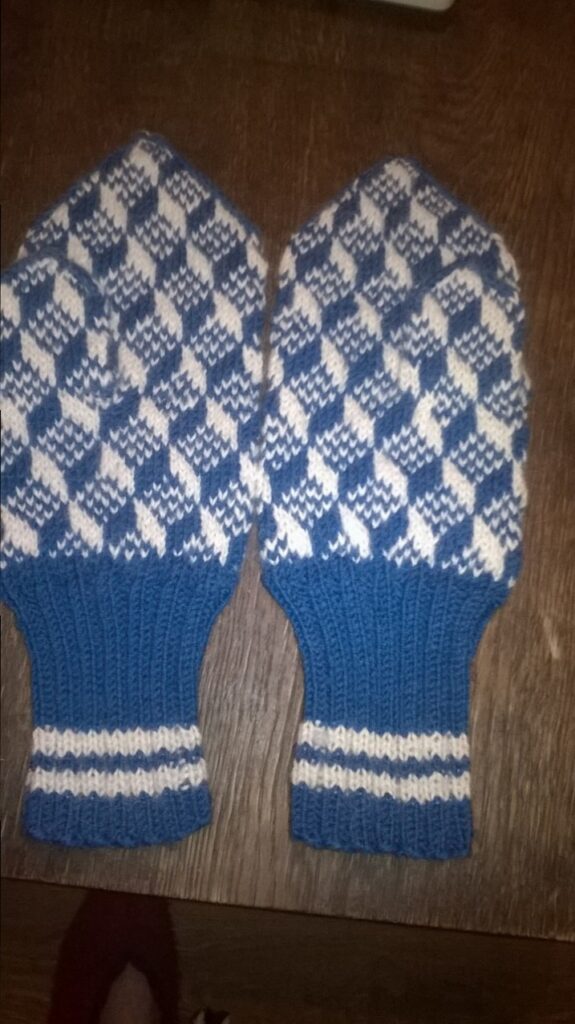

Next it was time to knit mittens. The first pair in my long life. I had never needed to because my mother knitted every kind of glove: plain ones, patterned ones, fingerless gloves, mittens and finger gloves. I would not have started now either, but a good friend asked whether I could make a pair for him to give as a gift. Naturally, the preparation before I could even begin took several days. I googled, visited different handicraft sites and searched for a pattern. Eventually I chose the Reigi mitten pattern . The person ordering them had a definite idea about blue and white. As the recipient was a man, I chose blue as the main colour with a white pattern.
For the yarn I chose Extra Merino, 100% merino wool. I used 2 mm needles for the ribbing and 3 mm needles after that.
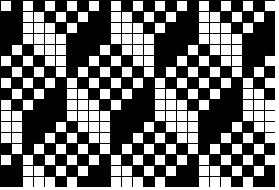
I cast 14 stitches onto each needle and knitted a 2 knit, 2 purl rib for about 10 cm. Then I changed to 3 mm needles and knitted two rows in the main colour. As the pattern repeat is 8 stitches, I increased one stitch at the beginning and end of each needle, leaving 16 stitches on each. On the third row I started the pattern. At first it looked complicated and I watched every single stitch, unravelled and redid things, but actually the pattern is quite easy to remember 🙂
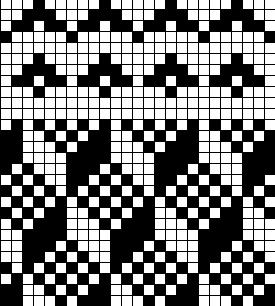
Seen from a certain angle, it is practically a 3D pattern.
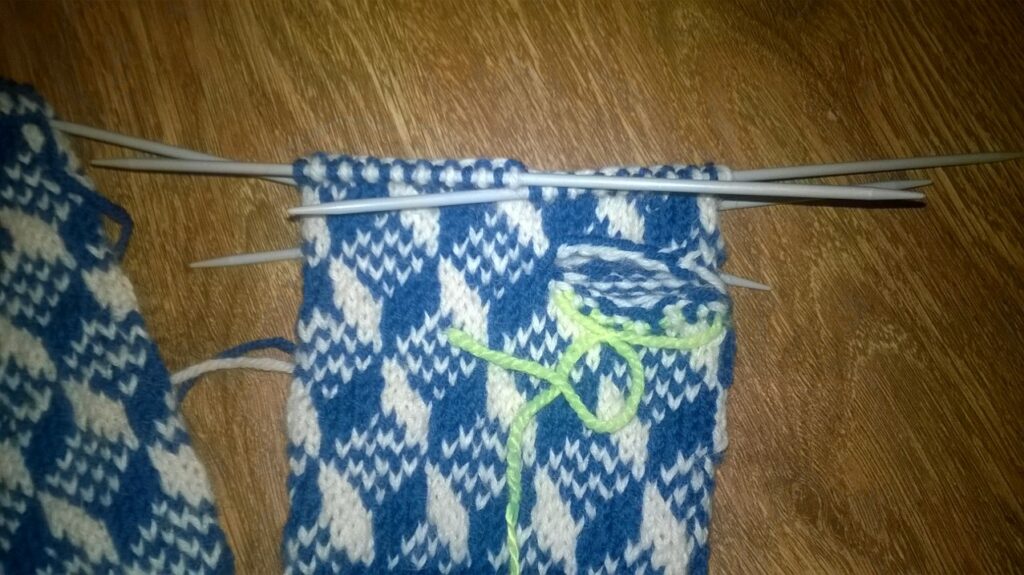
I had knitted another 10 cm or so when I started the thumb. I had looked through so many mitten instructions that one question began to bother me: if the left-hand thumb is knitted from the second needle, why is the right-hand thumb not knitted from the first needle but from the third? I think it was the third… or even the fourth… does it depend on which direction you start knitting from? Anyway, I followed the instructions. A few things still made no sense to me. Why, when picking up thumb stitches, are you supposed to pick up 2–3 extra stitches at both edges? Then it says that when you begin decreasing there must be an exact number of stitches on each needle. Quite… but not a word about decreasing in between. Never mind. I picked up only one extra stitch at each edge and had no problems when finishing.
Hiiumaa mitten patterns
I carried on until the knitting reached the end of the little finger. I had my son try them on, since I was making them for a man. For the decreases, at the beginning of each needle I knitted two together with a slip-over decrease, and at the end I knitted two together normally. I did all decreases in the main colour regardless of where the pattern happened to fall. The instructions say that when there are two stitches on each needle, you should pull the yarn through and finish. I knit all the stitches together instead, and the little point left at the end can be pulled neatly inside the mitten.
I managed to work the thumb into the pattern too. There were not really enough stitches, so I followed the pattern on top and let the end of the round turn out however it turned out. You can’t tell anyway. Naturally I could have made the thumb in one colour, with dots or whatever else. I wanted it not to show at all when I took the photograph. It is not quite invisible, but almost 🙂
I did not felt the mittens because I think they would have become very hairy. I simply dampened them with the iron, as the instructions say.